Making and re-making – the little doll
If you read last week’s blog, you will know that one of the things I would like to achieve in my crafty world this year is to finally finish, write up and and publish my doll pattern. It has been a two year journey – no not a journey, because we have not been going anywhere – a two year stop-and-start.

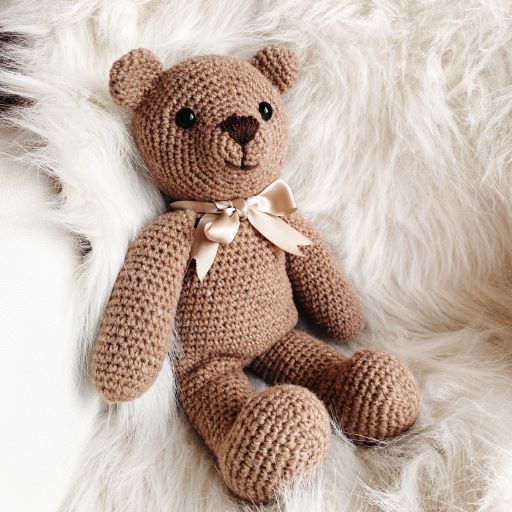
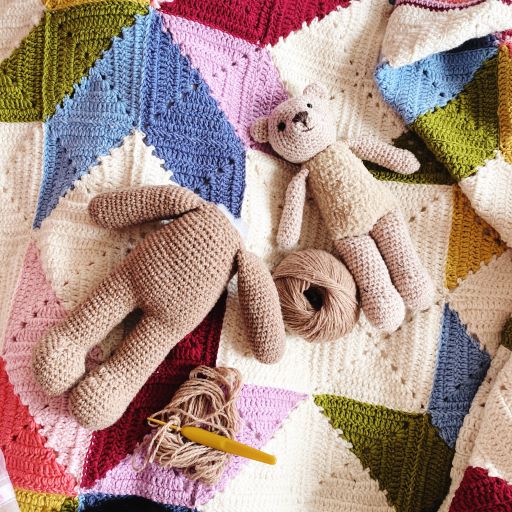
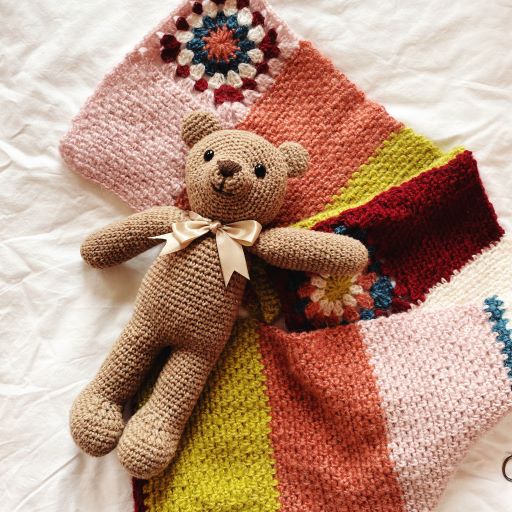
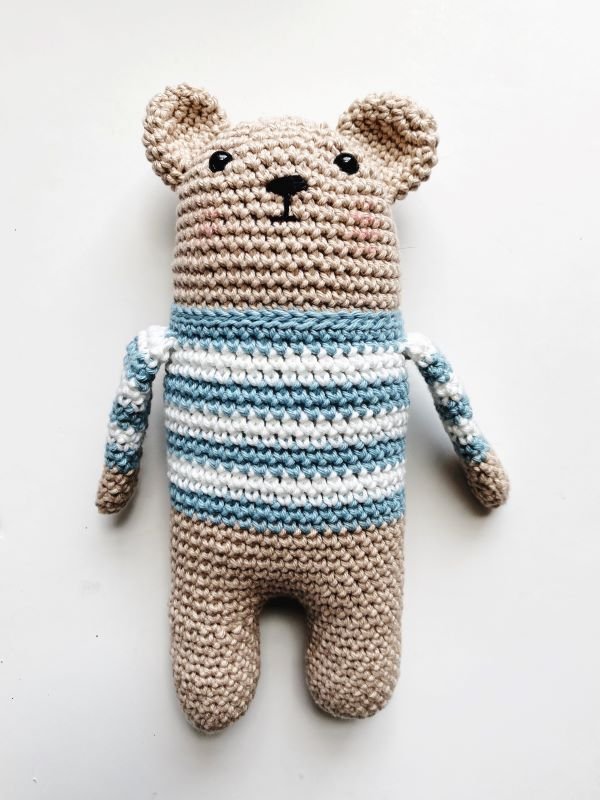
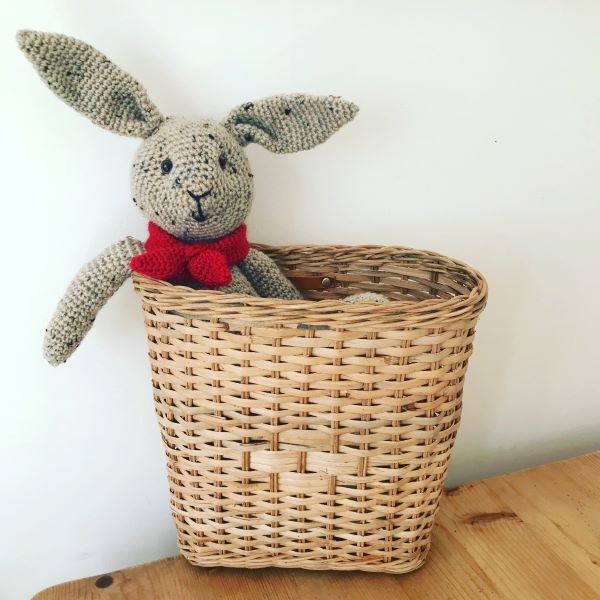
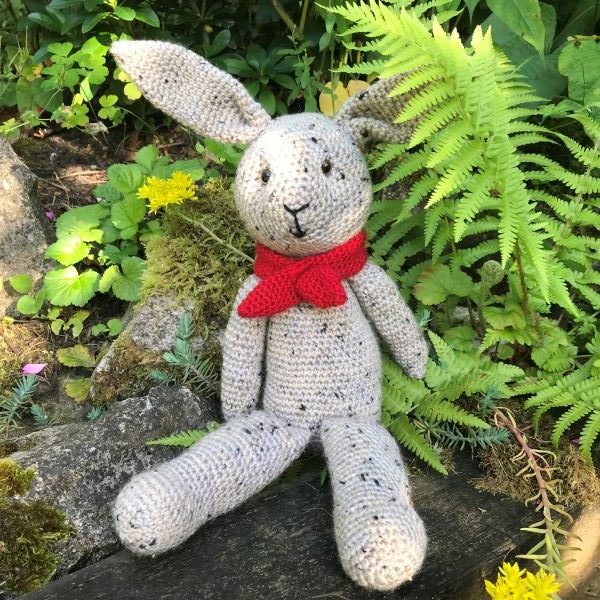
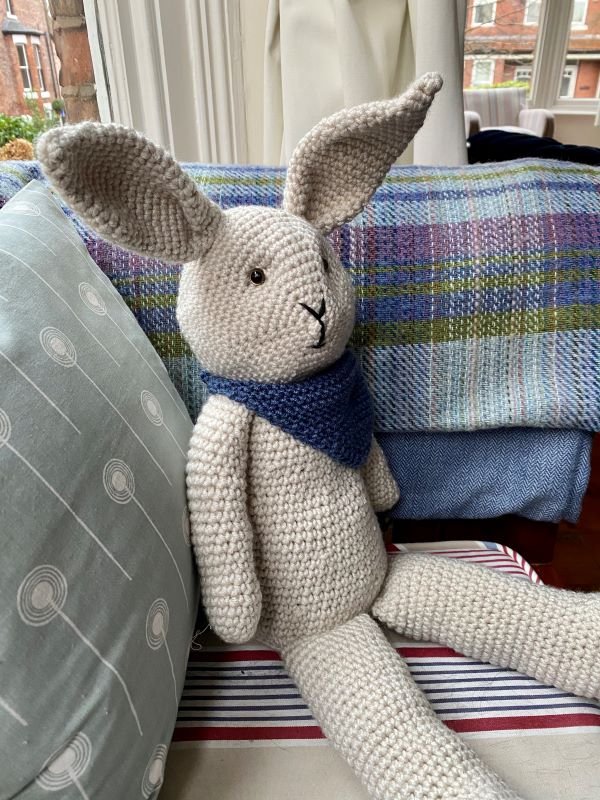
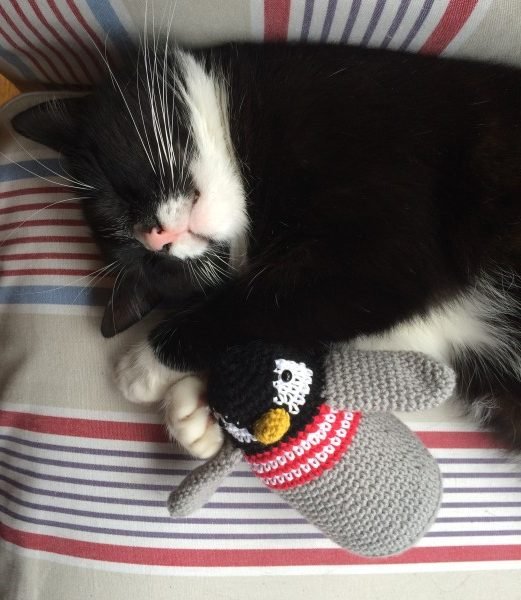
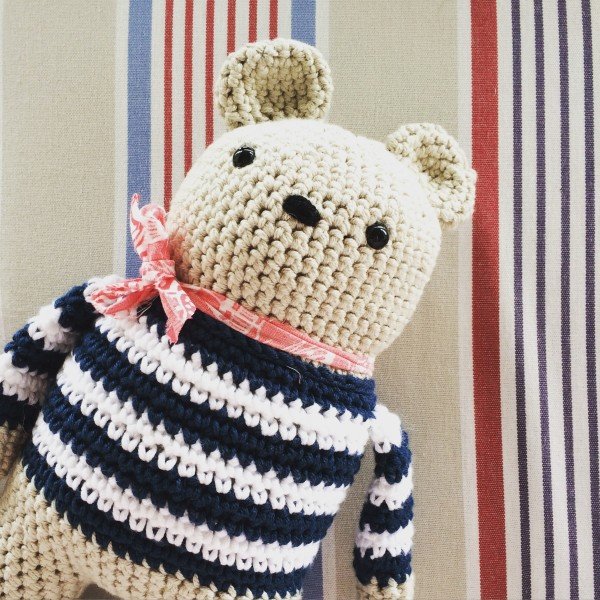
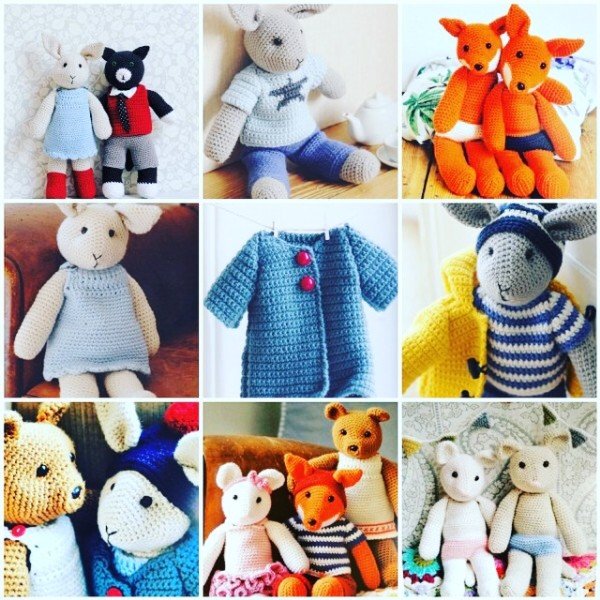
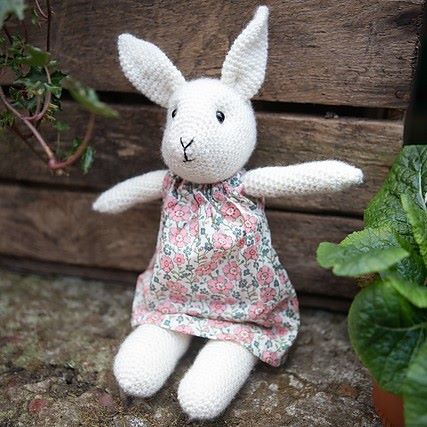
I have made lots and lots of toys. Bunnies and bears are a joy to me, in lots of shapes and style. But a doll design has alluded me. I’m going to be honest – I have designed a pineapple last year in a morning… I mean seriously how hard can it be!

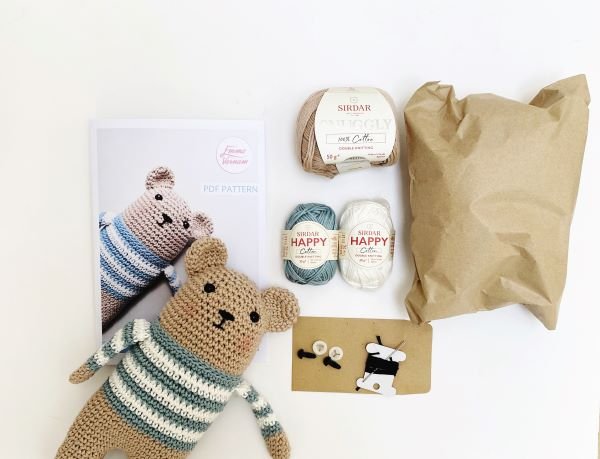
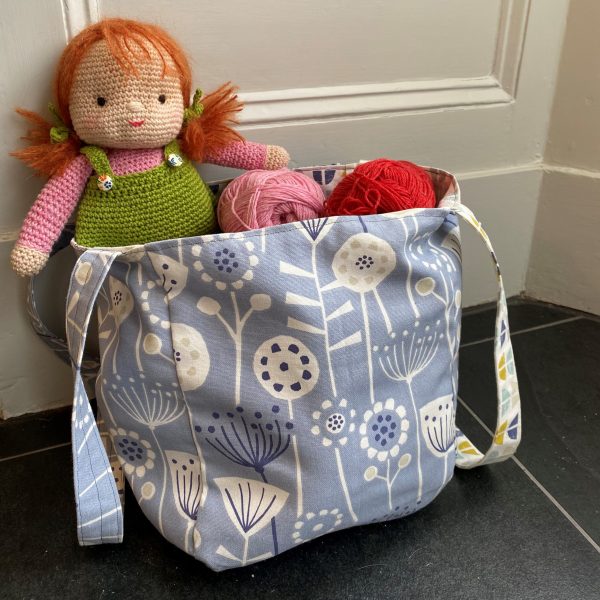
There are a number of things I like to get right before I let a design go into the world. Firstly I do think about the yarn. I think about the price point – is it reasonable? Also how easy is the yarn to get hold of? Now these things are important. I know you might make a design using your stash, and to be fair that’s the best scenario, but no one would thank me if I didn’t say what yarn I have used in the original.
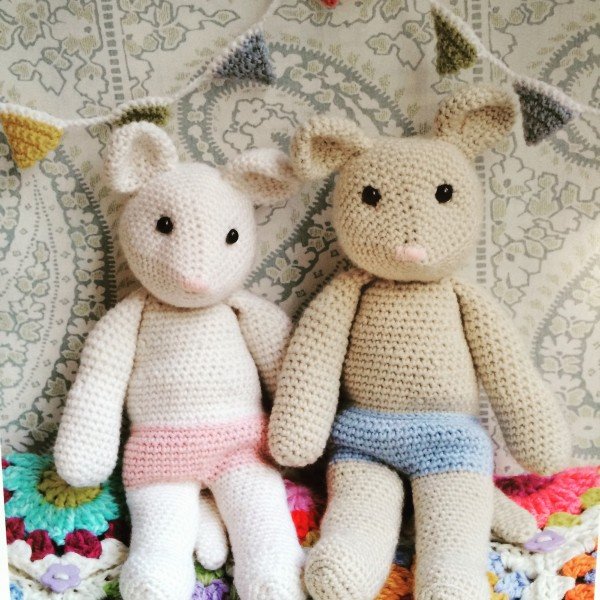
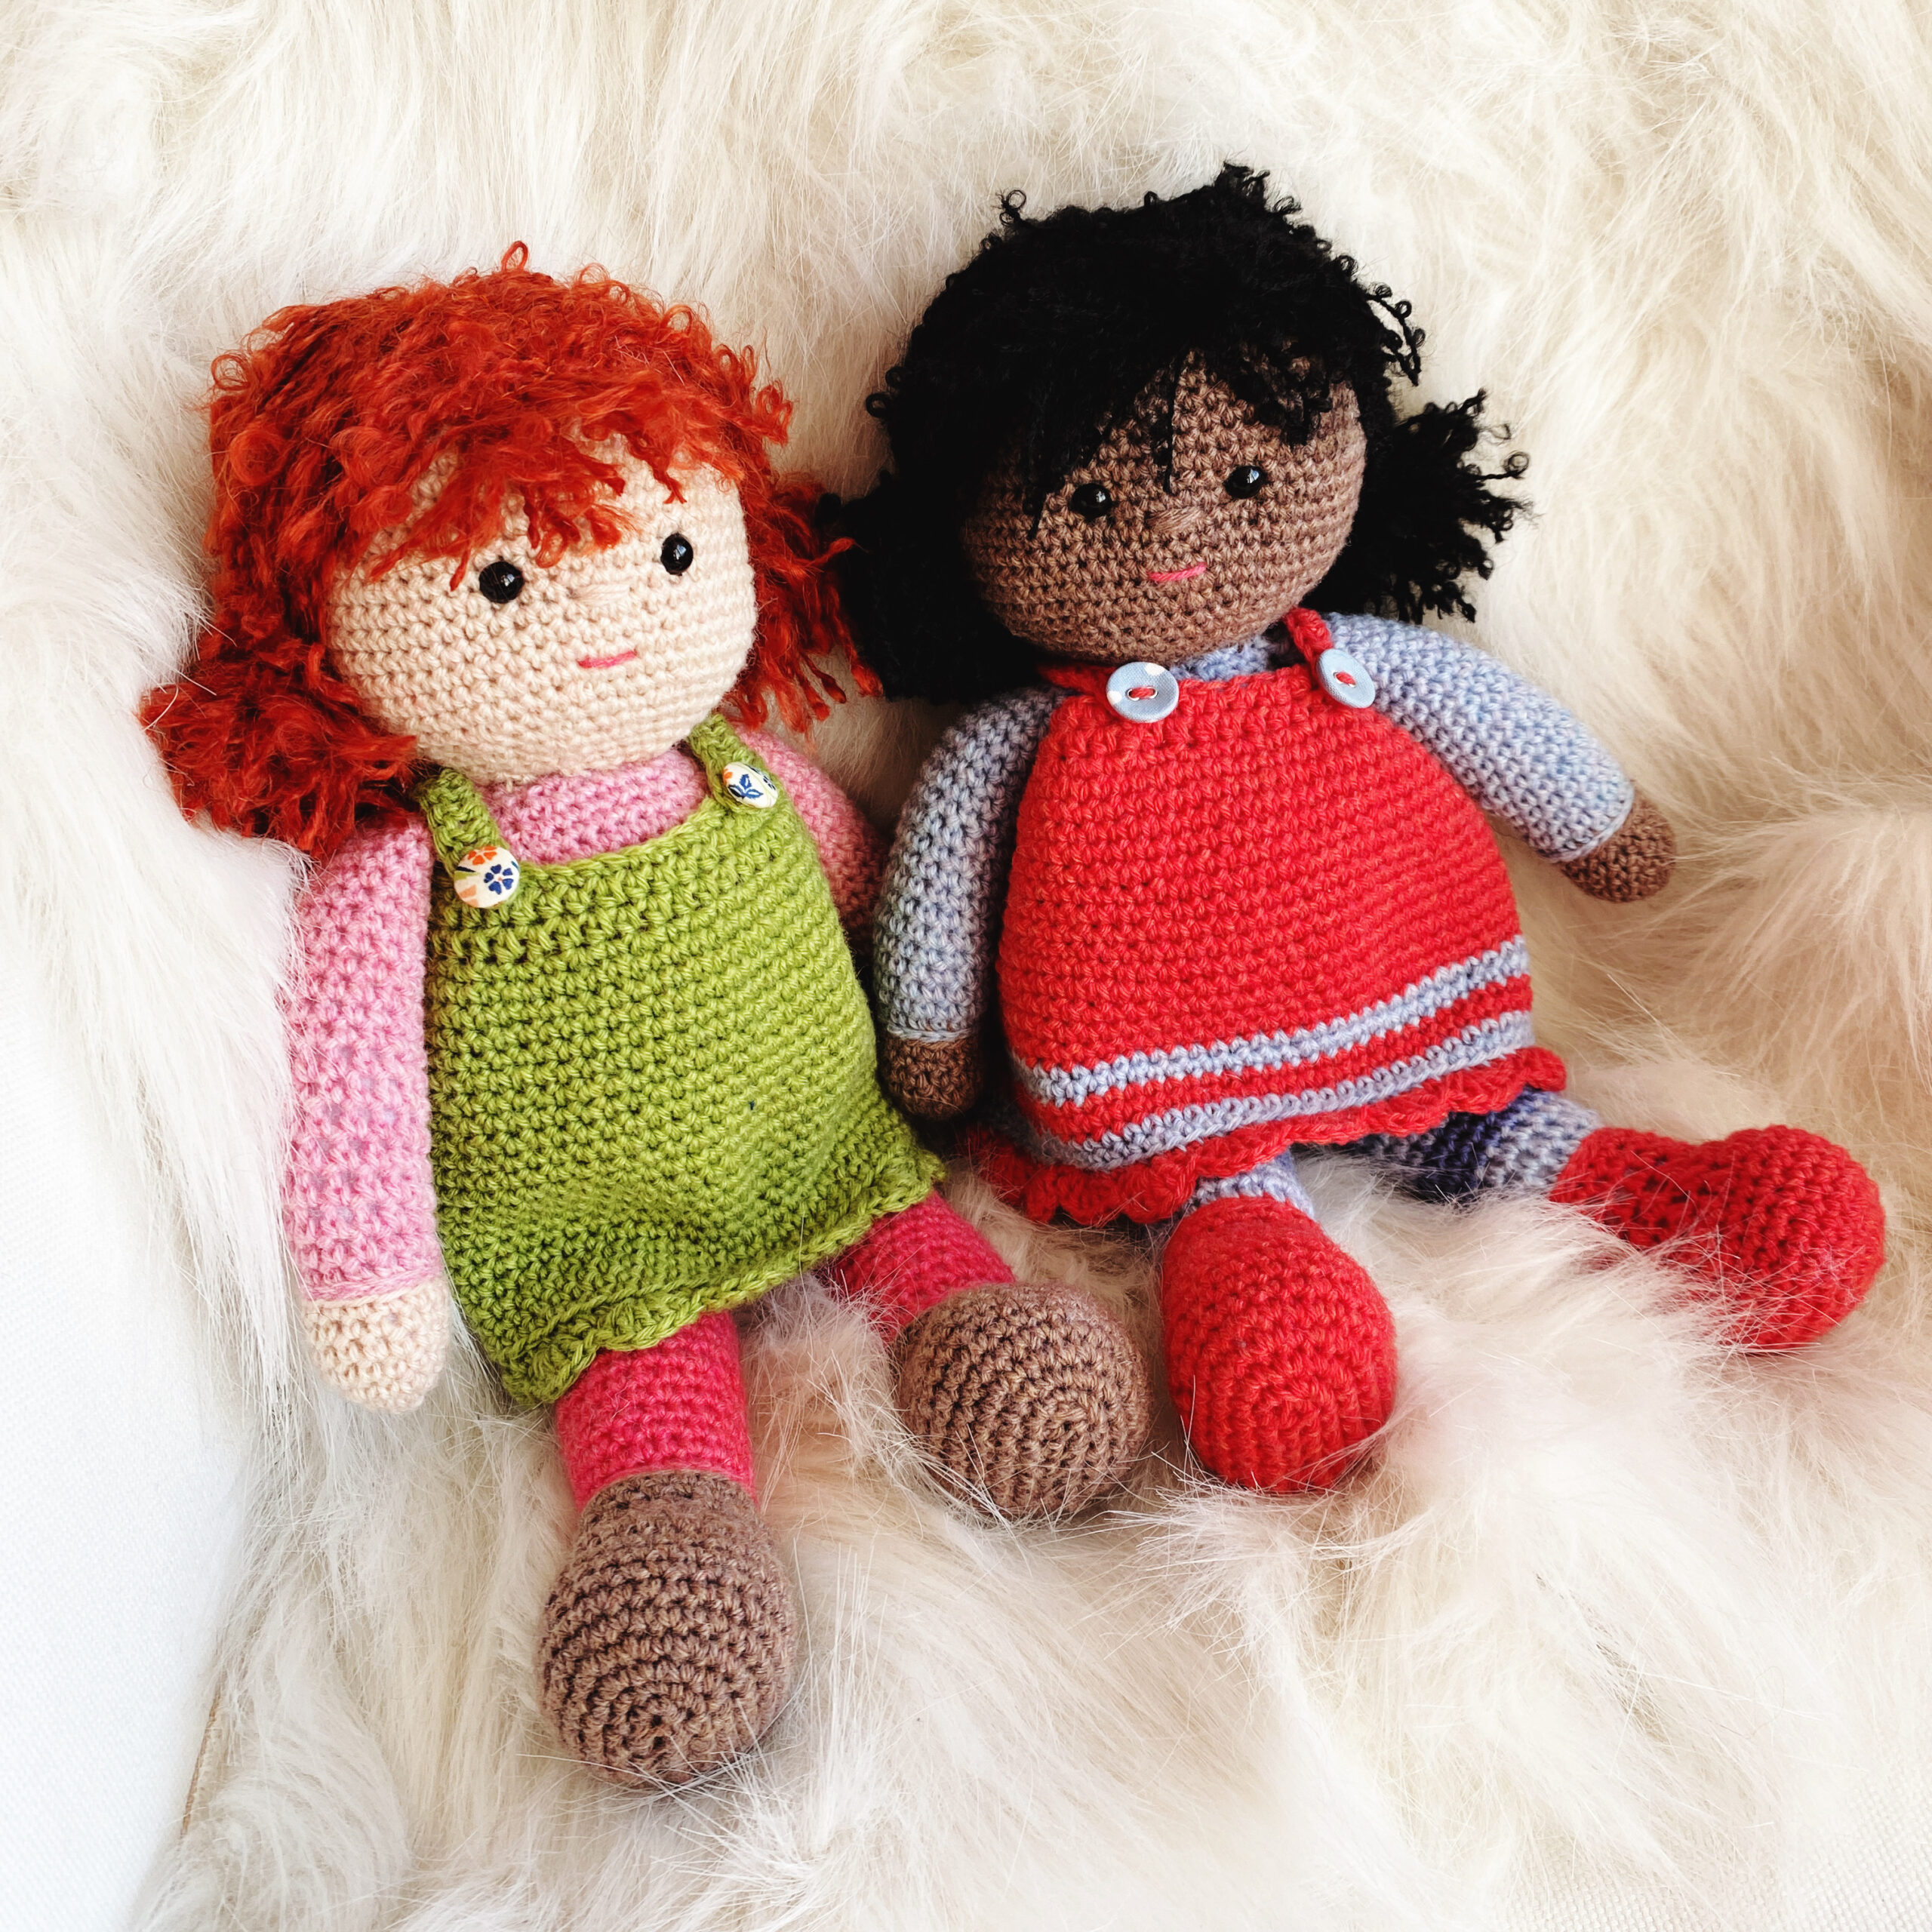
Honestly I think I have made 3…perhaps even 4 versions of a doll. For most of the toy animals I make I have used a DK weight yarn, but with the doll I felt I need to finer stitch. It seems to matter more with the faces. So I have been searching for the perfect 4ply yarn – oh my we have been around the houses. I think I have experimented with 5 different types. It can get a bit expensive this trial and error. But the availability of tones has been important to me for skin colour – I think I have finally cracked it. I know if you make toys you might say – Emma …4ply that is fiddly! Yes… Yes I know but I promise you – have a go and I am sure you will get into it. Or lets be honest – used a larger hook and DK you already have – your doll will just be a bigger toy for bigger hugs!
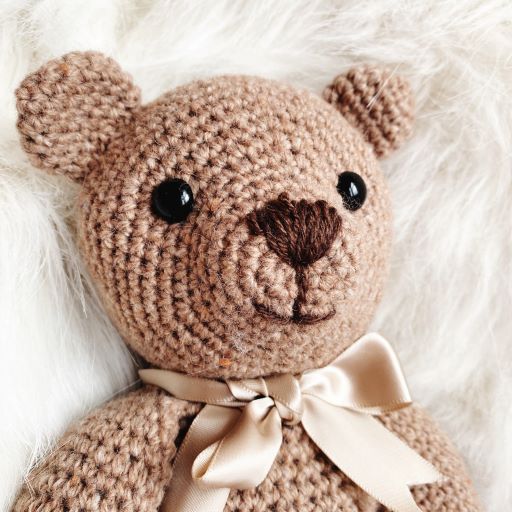
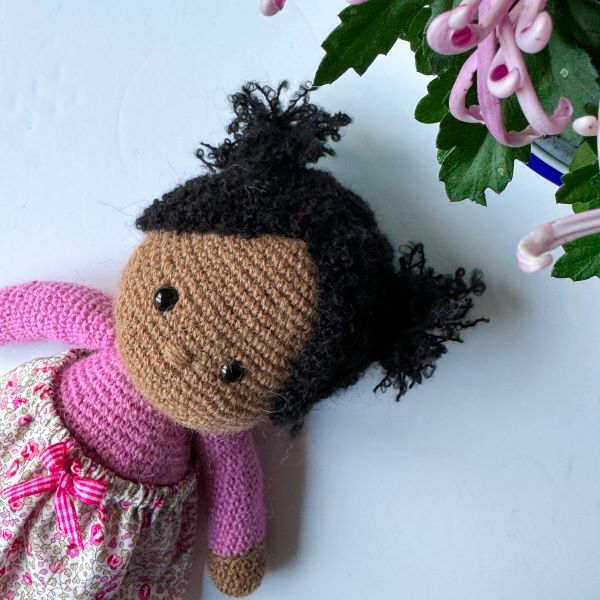
The really….really difficult thing has been the faces. I have never been really pleased with the head size and the face shape. I have made 4 versions of the head, and looking through my notebook with all the crossings out and over writing it has been quite difficult to decipher. I was so frustrated with me lack of ‘getting it’ the lovely little girls have made as samples have been placed quite firmly in the corner – poor things. But in the New Year break I was determined to crack it – and started again.
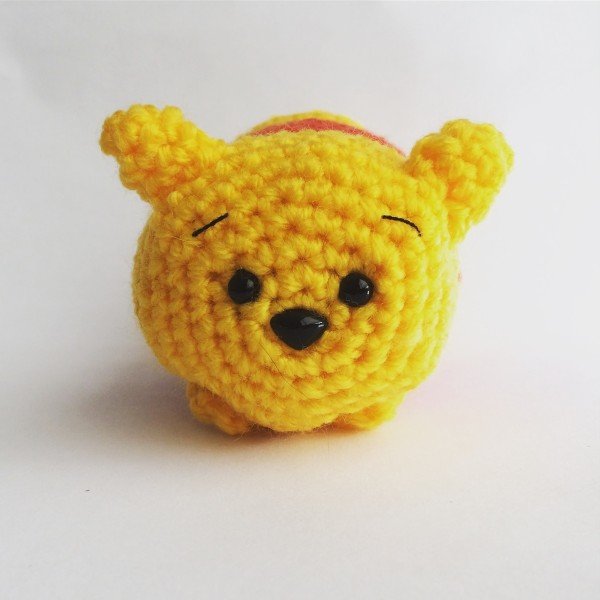
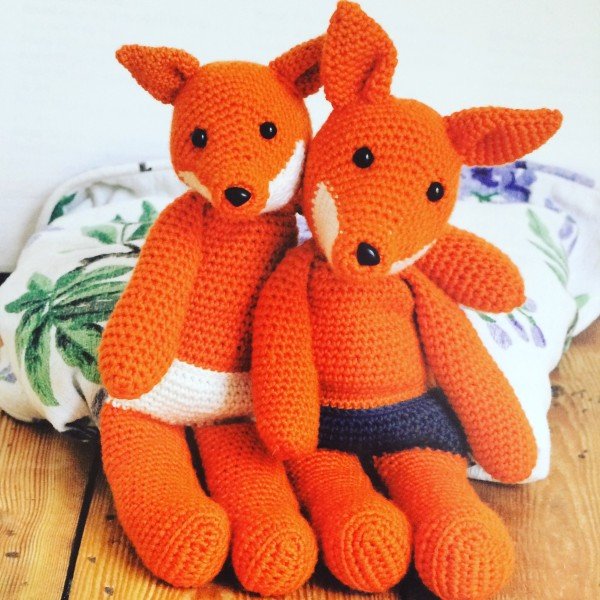
Crochet friends of mine have said that the ability to create good faces for toys is one of my USP’s (they are kind people), so I didn’t want to get this design wrong. So I think we are there now. Ideally to help you replicate the look of the doll and for you to feel satisfied with your make I like to be specific with the placing of features – which round to place the eyes – how far apart they should be etc.
(If you are reading this and are not a crocheter…sorry this might be far too much tedious detail…but this stuff matters).
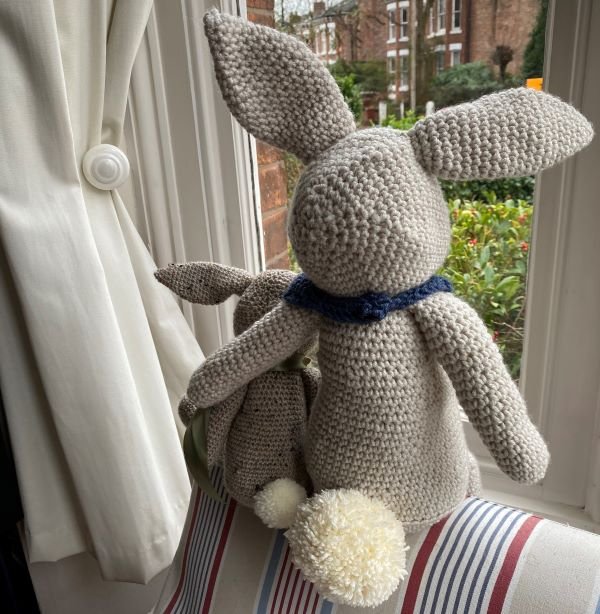
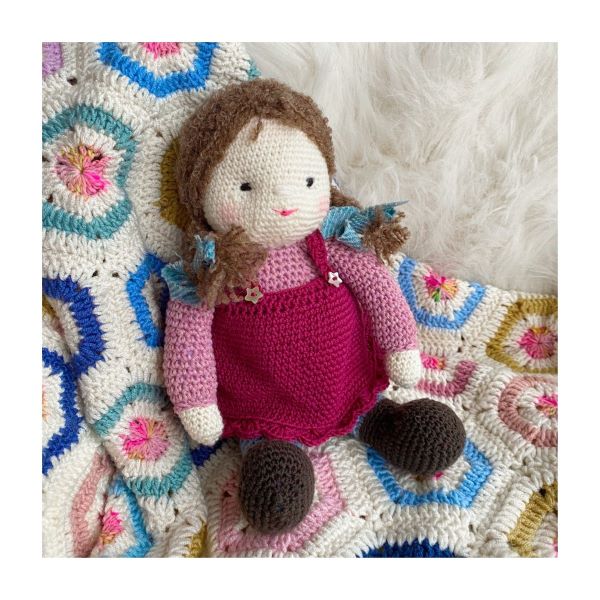
Then there is hair… thinking about it… it might be the hair that has really halted this project. For a crochet doll there are lots of different ways you can tackle the hair. You can make essentially a ‘hair-hat’ or helmet. An added piece of crochet that fits the shape of the head and that is just sewn on. You can also just take strands of wool and sew them to the head at a centre parting. I have done loads of ‘doll hair’ research. Perhaps too much. I have even used my sewing machine to sew a centre parting between two pieces of paper with professional doll hair. I mean it was fun. But it just didn’t feel like a technique that was accessible to everyone. I couldn’t solve the problem. What I have finally landed on, is a combination of two techniques. Creating a piece of crochet to sew to the head and adding some simple pompoms for bunches. I think this looks cute and is easier to recreate.
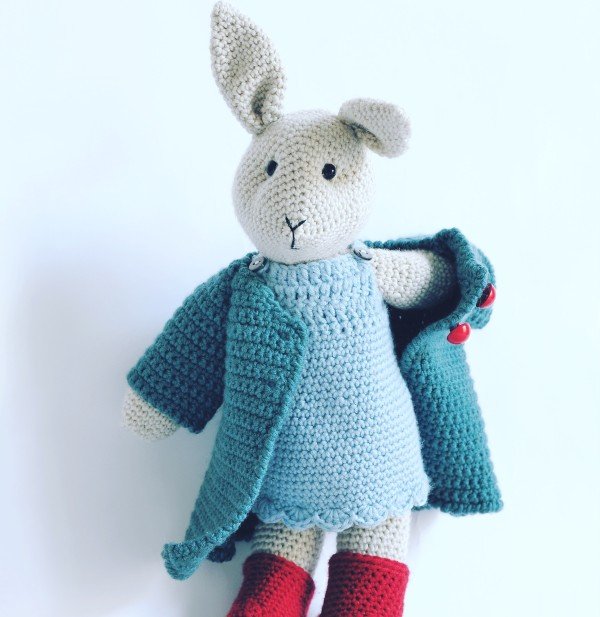
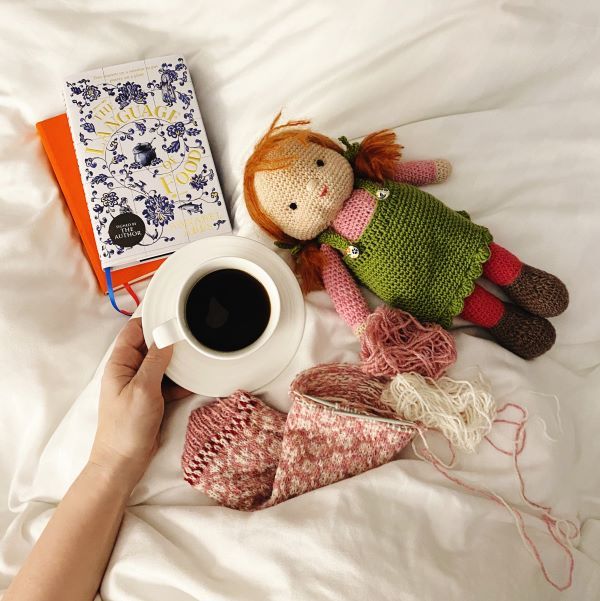
The body and the limbs haven’t changed much at at all. I have been happy with them all along, but I have thought quite a bit about the clothing. Full disclosure my preferred option would be to release this design with a pretty cotton skirt. My very first bunny design for Inside Crochet – way back in 2015 was Bonnie Bunny. She was really the prototype for what developed into Jack and Emily in Cute Crocheted Animals. But in that design, I combined some simple crocheted clothes with a pretty and simple cotton dress. I have wanted to return to this idea. So the doll design will come with two options; a simple crochet dress and instructions to make a very simple skirt made from cotton fabric. The dress is small enough that it could be hand sewn and would not need a sewing machine.
Two years ago I did ask you all what other clothes and accessories you would like me to design for the dolls. I still have that list – but I am always keen to add to the idea. So if you have a suggestion I would love to know.
So what next? Well what I need to do is to take a few instruction photos, which will much easier to follow the pattern. At the moment I am thinking I will release this pattern on my website and Etsy shop. So after I have taken all the photos I will begin writing up the pattern and then get the pattern tech-edited. This is really very important. I have a few dedicated makers who make lovely versions of my toys, so I will also ask them to have a look at the patten and make up their own version. After so much trial and error, I am finally pleased with how things are looking. I hope you like the dolls too. See what you think and please do leave a comment below. Have you got a project that took you years and years to finish?
Making and re-making – the little doll Read More »